When it comes to hitting a penalty, there is lots to be said about where your focus should be.
From weight transfer, swing mechanics, body posture, where to focus your vision, where to aim your horse but what you don't hear about is not your weight transfer, but using your horse's weight transfer.
Timing is key.
Timing is Key
Transcription:
In this lesson, I would like to focus on weight transfer and in getting the right weight transfer to get your penalties more consistent.
Much has been written and said about the swing mechanics, body posture, weight transfer, where to focus your vision, where to aim your horse, etc, etc about taking penalties.
But what I don't hear much about, is using the most potent weight transfer of all, and that is the horses weight transfer. With the best technique in the world, if you get this wrong, it will destroy your penalty taking.
Remember that the swing is a three beat swing, not a 2 beat one. And by beat, I mean, the landing of the horses leading foreleg. If you look here, as I take you through frame by frame.
There as that leg lands is the first beat, and you will see me start and set up my swing here. Complete my back-swing on the second beat. Okay. And make contact as the horse transfers it's weight over that offside foreleg. So, that at this point it only has one foot on the ground and it's transferring its weight across that foot.
If you get that timing wrong and you make contact as the horses other leg lands on the ground, then you will see at this point that it has three legs on the ground and it's gathering itself to make the next stride.
So, there is no real weight transfer from the horse at this point. If you look at all the great ball strikers , in every sport, they all have a trigger movement that lets them complete the swing with rhythm. In polo, you have to have that trigger movement as well. And there are a variety of ways to do it.
See, here is Malcolm Borwick and his trigger movement is a pre-swing. The important thing, if you are going to take the pre-swing as a trigger moment, is that you've got to time the pre swing, as well as the swing on the first beat of that three beats swing.
There is the horse's off-fore landing, and the horse with three legs in the air transferring it's weight across. Malcolm's mallet is exactly at his boots. So, as the horse transfers its weight now, there you can see him going into the swing. It's landing a second time.
And while it's transferring its weight there, he's completing that back-swing, which gives him time to do so. And as he lands with the off-fore for the third time, there you can see impact will be when it's got three legs in the air, transferring its weight across that all four.
So, the horses impetus here is helping him. But what makes him really good at taking penalty is it uses the horses rhythm to help him transfer his weight. So, what then, if you don't use a pre-swing, you have to find some way of finding a trigger movement that works for you.
What I do, is I just drop that mallet and put my weight onto my feet, to get my body posture where I want it in the swing. There you can see, as the horses off-fore lands on the first of those three beats, I'm dropping onto my stirrups.
My mallet is dropping and as the horse transfers, so my mallet is coming back. There's the second beat. There's the completion of the swing. And as the horse transfers its weight across that leg with three feet in the air, so it's transferring its weight to take the next stride, is impact.
Just to compare the two different methods. On the stride, there's Malcolm's mallet at his boot, as the horse is transferring its weight across that fore-leg, with three legs in the air.
If you look on the left pane, there I am with that trigger movement. There, you can see the bow in the mallet, as it starts to lift, as the horse is transferring itself across that leg. And you can see a very similar position of both horse, with its stride almost exactly the same in both pictures, and our mallets almost at identical places at this point.
In this clip, what I'm trying to show you is how if you get the little things wrong, then everything goes wrong in the swing. You would see here, I've turned my feet out slightly, which throws my weight back, so that I can't transfer my weight correctly. And you will also see that the horse is leading on a near-fore.
And because of that, I am counting my beats on the near side fore-leg landing. So, it's the leading leg, there's the trigger movement, as the horse transfers its weight across the near side fore-leg now not the offside fore-leg.
There you can see my feet slightly open, weight back too far. There's a second stride and transfer. And you will see now as the horse lands on the off-fore, that is where contact should be as it's taking its stride across that leg.
However, because it's leading on the wrong leg, there you will see contact is with the horses near-side fore-leg on the ground. And because of that, the result will never be the same.
Let's just take a look at a player here that is turned that 3 beat swing into a 2 beat one, with a very similar result to the horse leading on the wrong leg.
One of the things that I don't like is a very long pre-swing like this, because then it makes it very difficult to time your pre-swing. I would much rather that he had not taken his mallet further back than that. Because from there, the timing of the fore swing of that pre-swing is so much easier.
You can see him coming in and the horse coming in for the first side of that 3 beat swing. There's the fore-leg landing and the transfer happening now. And you can see at this point that his mallet is not at his boot, it is way behind him.
So, by the time the mallet reaches the boot, that horse will already have transferred across that leg and be landing on the other leg, as if it was leading on the near-fore.
There, you can see now the horse is landing and the mallet is approximately at the player's boot. So, he's already too late. Now, there's the second beat, and the horse transferring it's weight, and there's the third beat. And he's still in the back-swing and not already making the swing at impact.
So, here you can see the horses already transferred and there is impact happening with three legs on the ground. So, the horses transfer has already happened and it's now gathering itself to get into the next stride, so, there is no transfer really.
In conclusion, let's just look at a few more high goal players swings. Here, you can see high goaler James Beim coming in to take a penalty. And there you can see that limited back-swing, there's the horses stride on the off-fore, mallet passing his boot, the completion of the back swing in the second transfer across that leg, swing completed, and the downswing and impact happening as the horse transfers it's weight, again, across the off-fore.
If you look here at Sapo Caset, you would see a pretty similar thing. There's a mallet passing this boot as the horse is transferring its weight on the first stride. Going into the back-swing on the second stride, and the downswing and contact as the horse is transferring its weight across that off-fore.
If you look at legendary, Miguel Estrada here. He was one of the best players in the world. He has a slightly different trigger movement. He takes the pre-swing, but he holds his mallet further down than I do to start with.
There, you can see the first side. His mallet is down and that is his trigger movement. And as the horse reaches forward, now, everything else is exactly the same as what I've been describing.
There's the back-swing, as the horse transfers its weight across that off-fore. Completed swing, down swing happening as that foot lands next to the ball. And impact there with the horses 3 legs in the air, transferring its weight across the off-fore.
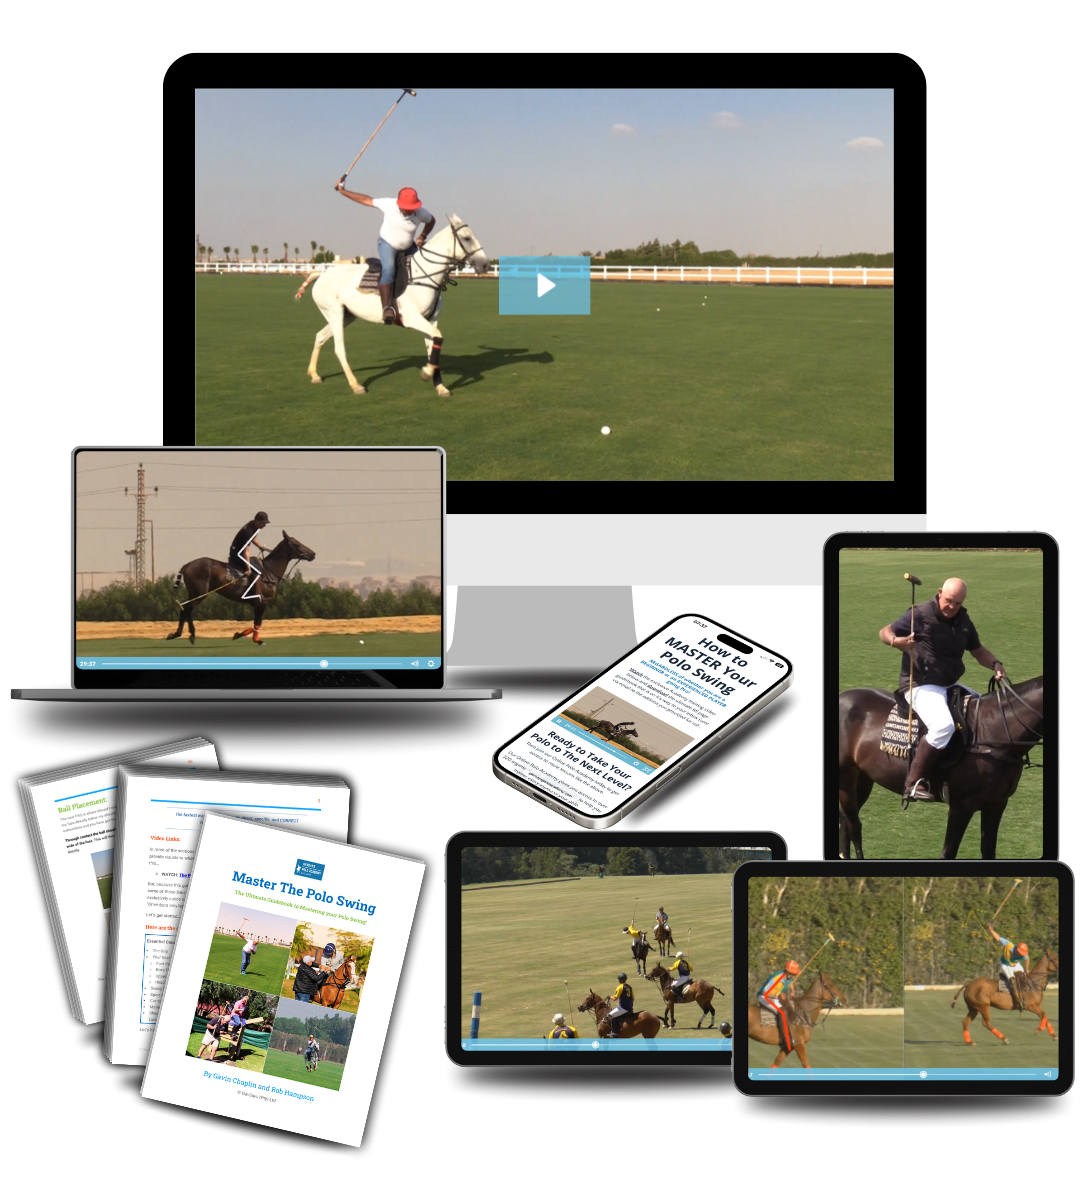
Ready to Become a Better Polo Player?
If you want to improve as a player... from your swing, to your on-field tactics, to improving your horses and riding, all the way to your fitness and psychology...